

This is a delicacy and usually requires several hours when made traditionally. You start with whole milk, separate it into whey and paneer, then add the paneer to whole milk and reduce this down till thickened and then add the sugar, stir it for a little longer till thick enough to set and then set it on a greased plate. There are several short cut recipes that I have seen by baking ricotta cheese or making it in the microwave, but I have always found that these fall short of the authentic taste, especially for me. I have a sensitive palate and am able to taste the ricotta cheese in these recipes which annoys me terribly. So, I end up spending long hours during Diwali time (the only time I make elaborate sweets) making this.
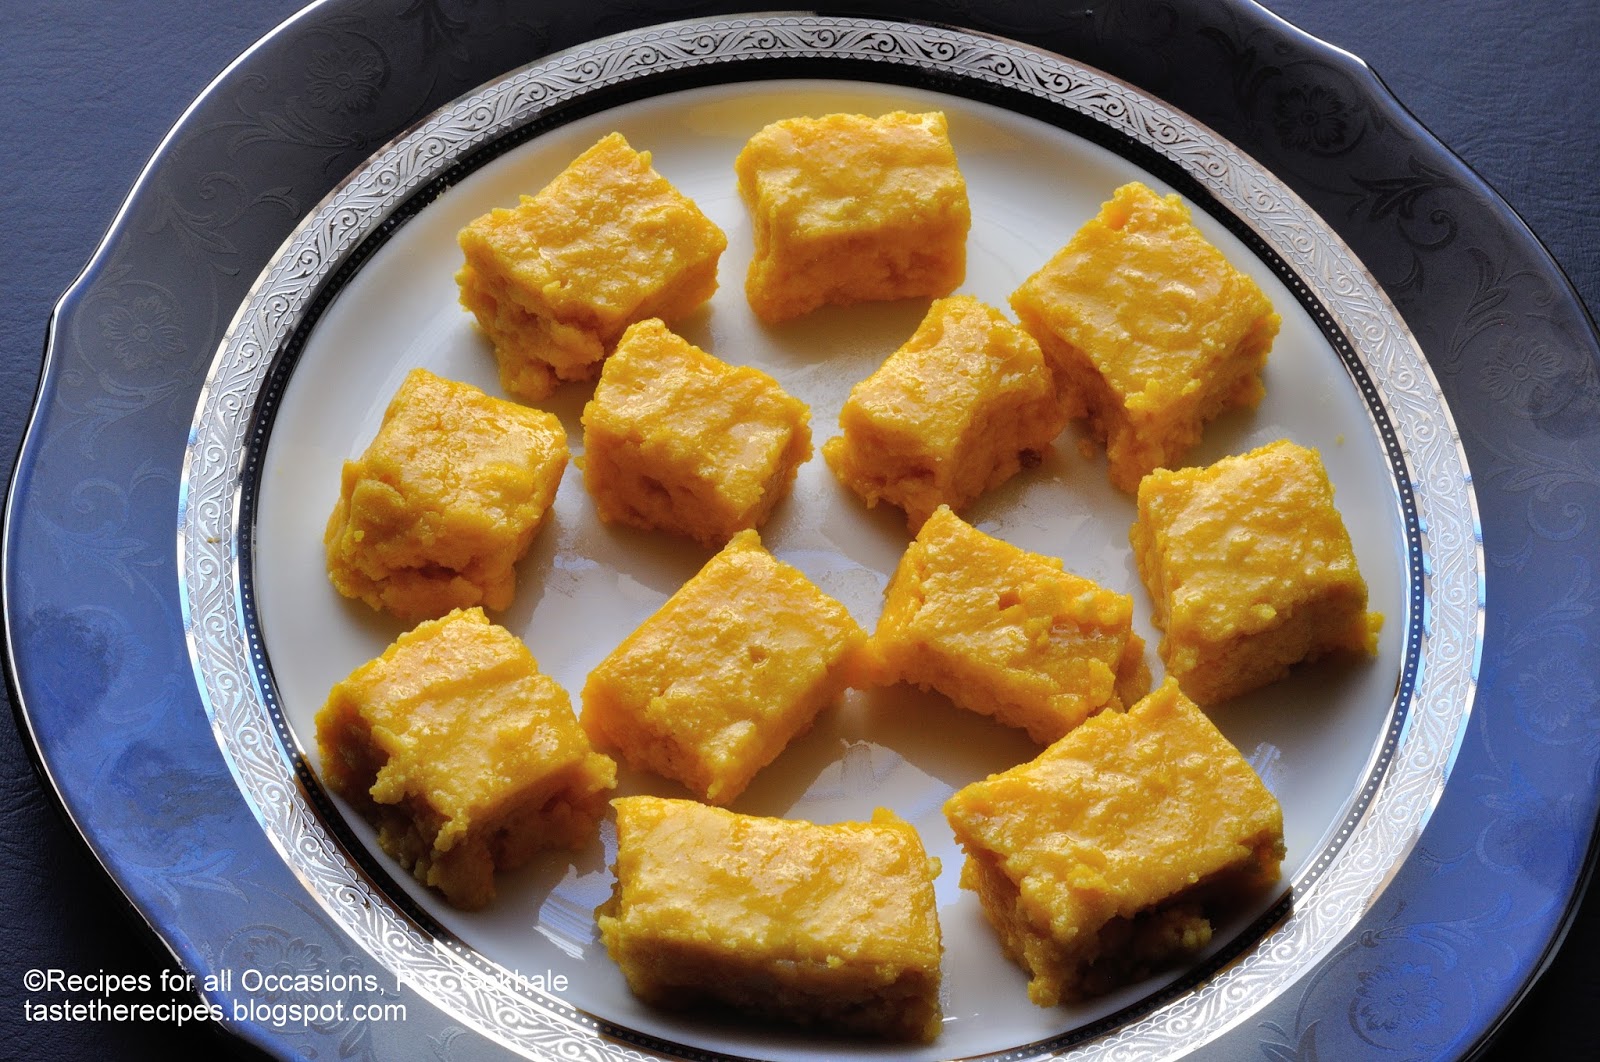
Since I have been on a pressure cooking experimentation spree, I broke down the basic components of the traditional recipe and decided substitute milk with milk powder and see if this would set in the cooker when cooked under pressure, similar to a caramel flan. Thus far, I have experimented with cake and waffle batter and they have cooked well under pressure in less than 20 minutes. So again with a motivation to simplify the recipe with respect to the length of time and effort, I set forth with my experiment. In addition, I decided to flavor it with mango as I hadn't made mango kalakand before. And the result was terrific! Absolutely delicious, soft and well set kalakand. I can now whip this up easily for any dinner party now and so can you.


Ingredients
1 cup freshly made crumbly paneer
1/2 cup milk powder
1/2 cup sugar
3 tbsp mango pulp, canned
1 tsp ghee plus more to grease the container
1 cup water for the cooker

Method
Take the crumbly paneer in a bowl and mash it a little to make it slightly smoother. We still need a little granular structure to give kalakand the right texture. Then add the milk powder and sugar. Mix these well and then add the mango pulp. Add 1 tsp ghee and mix well. This mixture should be quite thick. If the pulp is very watery, then add some more milk powder to thicken it.
Grease a cooker safe container with ghee. Pour this mixture into the container. Cover this container with foil or a lid. This is to prevent water from condensation falling into the kalakand.


Pressure Cooker
Pour a cup of water into the cooker and place the covered container into the cooker. Cook this on medium low heat (4 setting on my stove) for 15 minutes (you can steam it or pressure cook it, it does not matter). Take it off the heat. Let the pressure fall and then open the lid.
Instant Pot
Cook it in manual mode for 15 minutes with vent closed. Let the pressure fall and then open the lid.


Now carefully remove the covered container making sure to not disturb the lid of the container. Then wipe it down nicely and once assured that there is no water, open the lid. Check that it is well set by inserting a toothpick or a paring knife into the kalakand and if it comes out clean, it is done.
Then let this cool down completely, cut this into squares. Refrigerate for a few hours. Then separate out the squares and serve them.

Tips
Paneer was made from whole milk and I had non-fat milk powder on hand.
If using fresh mango pulp, thicken it a little by cooking it a couple of minutes and add sugar if needed. If this makes the mixture runny, add milk powder. The mixture must be like a thick cake or idli batter to set well.
To make normal kalakand, instead of mango pulp, add 1-2 tbsp of yogurt to bring the ingredients together in thick batter/paste form. Add cardamom powder for flavoring.
If you use a mango pulp that is too watery or if you haven't drained all the water from the paneer and it is too soft after refrigeration and you cannot make pieces out of it, pour the mixture into an open pan and heat it up for a couple of minutes till thickened and put it back in the greased plate to set it.
Since I have been on a pressure cooking experimentation spree, I broke down the basic components of the traditional recipe and decided substitute milk with milk powder and see if this would set in the cooker when cooked under pressure, similar to a caramel flan. Thus far, I have experimented with cake and waffle batter and they have cooked well under pressure in less than 20 minutes. So again with a motivation to simplify the recipe with respect to the length of time and effort, I set forth with my experiment. In addition, I decided to flavor it with mango as I hadn't made mango kalakand before. And the result was terrific! Absolutely delicious, soft and well set kalakand. I can now whip this up easily for any dinner party now and so can you.

Ingredients
1 cup freshly made crumbly paneer
1/2 cup milk powder
1/2 cup sugar
3 tbsp mango pulp, canned
1 tsp ghee plus more to grease the container
1 cup water for the cooker
Method
Take the crumbly paneer in a bowl and mash it a little to make it slightly smoother. We still need a little granular structure to give kalakand the right texture. Then add the milk powder and sugar. Mix these well and then add the mango pulp. Add 1 tsp ghee and mix well. This mixture should be quite thick. If the pulp is very watery, then add some more milk powder to thicken it.
Grease a cooker safe container with ghee. Pour this mixture into the container. Cover this container with foil or a lid. This is to prevent water from condensation falling into the kalakand.
Pressure Cooker
Pour a cup of water into the cooker and place the covered container into the cooker. Cook this on medium low heat (4 setting on my stove) for 15 minutes (you can steam it or pressure cook it, it does not matter). Take it off the heat. Let the pressure fall and then open the lid.
Instant Pot
Cook it in manual mode for 15 minutes with vent closed. Let the pressure fall and then open the lid.
Then let this cool down completely, cut this into squares. Refrigerate for a few hours. Then separate out the squares and serve them.
Tips
Paneer was made from whole milk and I had non-fat milk powder on hand.
If using fresh mango pulp, thicken it a little by cooking it a couple of minutes and add sugar if needed. If this makes the mixture runny, add milk powder. The mixture must be like a thick cake or idli batter to set well.
To make normal kalakand, instead of mango pulp, add 1-2 tbsp of yogurt to bring the ingredients together in thick batter/paste form. Add cardamom powder for flavoring.
If you use a mango pulp that is too watery or if you haven't drained all the water from the paneer and it is too soft after refrigeration and you cannot make pieces out of it, pour the mixture into an open pan and heat it up for a couple of minutes till thickened and put it back in the greased plate to set it.


