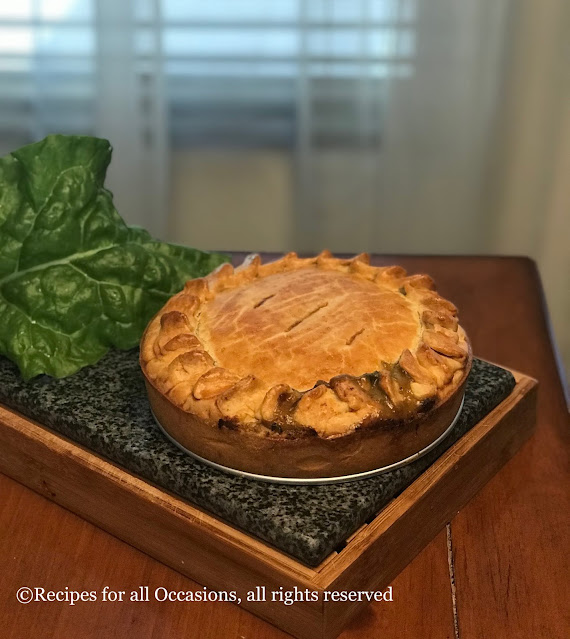
Welcome to our eighth episode of the Culinary Tour of the World. This post takes us to Europe, to the country of Armenia. It took me a while to decide on what I would cook from Armenia. I had originally settled on lavash as it is a bread that I really like and definitely want to start making at home. However, as I started researching and exploring the foods, I found this Armenian "pie" or "pizza" which is really popular called Lahmajoun. Traditionally it is a meat pie/pizza which has a very thin crust and a paste like meat filling which is spread across the crust. To convert it to a vegan version, I substituted chickpeas for the meat. You can also use kidney beans or soy granules. During my research across blogs and Youtube, I found versions where the crust was described as crispy and also where the crust was soft such that this could be folded or rolled. Also, I noted that for a quick version, store bought tortillas can be used. So, I tried out all the variations and my conclusion is that the version with the home made dough tasted the best. From a texture perspective, the softer version which could be rolled up was one that I liked because the topping was soft and moist whereas my husband enjoyed the crisper version which where the dough was stretched out really thin.
In one of the recipe videos, I stumbled across this yogurt drink called "Tan" which is very similar to the Indian lassi. It was the perfect accompaniment to the Lahmajoun. The two together made a delicious and complete meal!
I really enjoyed making this because I also learnt how to make "red pepper paste" which is a key ingredient for the Lahmajoun and used in Armenian cooking and recipes in this region. In addition this was a great recipe because I learnt how to make another kind of a dough which can be rolled out really thin and can be used to make a quick thin crust pizza. I am sure that I will be making this dish often, especially the dough to make other pizzas/pies with different toppings.
Note: This recipe makes a large amount of filling/topping. To use the entire filling, double the dough ingredients. Alternately halve the ingredients for the filling. I added boiled potatoes and bread crumbs to the leftover filling and made delicious patties the next day.
Here is the video of how to make Lahmajoun and Tan.
Ingredients
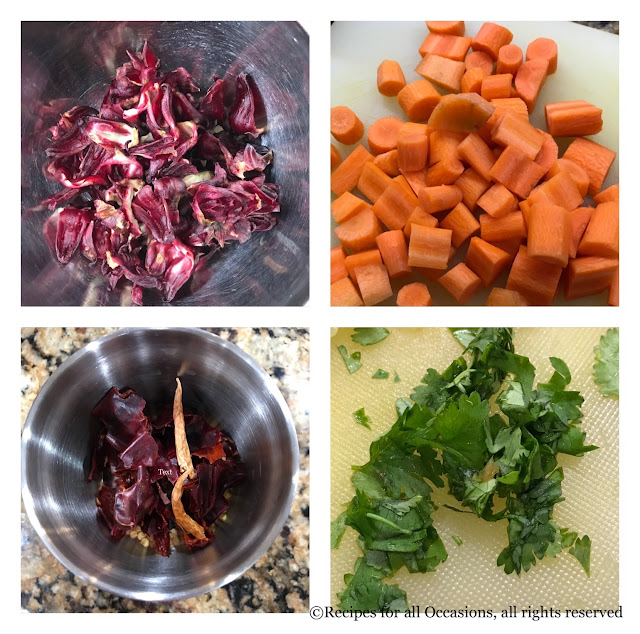
For the red pepper paste
2 red bell peppers, coarsely ground into small pieces in a food processor or blender
1/4 tsp cayenne pepper
1/2 tsp salt
For the dough
3 cups of all purpose flour
1/4 tsp yeast (optional)
1/2 tsp sugar
1/2 tsp salt
1.5 cups water
olive oil to grease the bowl
extra flour to flour work surface
For the filling/topping
1.5 yellow onion, finely diced
3 tomatoes, deseeded and finely diced
1 red bell pepper, finely diced
6 garlic cloves, finely minced
1 bunch of flat leaf parsley, finely minced
3 cans of chickpeas, drained and rinsed (15 oz/439 gm each)
2 tbsp red pepper paste (if you are making the paste as I did, use all the paste)
2 tbsp tomato paste
1 tsp of black pepper powder (I used 1 tbsp and it was very spicy for me, so start with 1 tsp and adjust as needed)
1 tsp chilli powder
1 tsp paprika
1/2 tsp cayenne pepper
salt to taste
olive oil
For the tan (yogurt drink)
1 cup yogurt
1/2 cup water
salt to taste
mint, to garnish
Method
For the red pepper paste
Finely mince the bell pepper or grind it coarsely. Boil it in a pan with cayenne pepper and salt. Cook it till the water evaporates and the texture becomes paste like.
For the dough
If you want to make the pies immediately add the yeast, else if you have a couple of hours for the dough to rest, then you don't need the yeast. The dough should not rise and it should be soft and supple so that it can be rolled or stretched really thin. I was going to cook it immediately, so I used the yeast.
Add the flour, dough, salt and sugar to a bowl and mix well. Then add the water a little at a time. I did end up using all of the 1.5 cups of water and kneaded the dough in the stand mixer for 5 mins. The resultant dough was very sticky and soft. Remove it from the mixer onto a floured surface and knead by hand for a couple of minutes. Grease the bowl with some oil and place the dough back in. It will still be very sticky. Once I let it rest for 10-15 mins it became soft and supple.
It is easier to make this in a stand mixer, but if you are making it with hand, I would recommend skipping the yeast and allowing enough time for the dough to rest so that you don't have to knead a very sticky dough. To make this by hand, use a wooden spoon to mix all the ingredients so that the flour is completely incorporated into the dough. Then cover and let it rest for at least an hour and the gluten will build up and one you knead the rested dough, it will become supple. Then rest the dough again to let the gluten strands relax so that you can roll it out easily.
For the filling/topping
I used the food processor to finely mince all the vegetables, the onions, tomatoes, garlic, bell pepper and parsley. Then drain the chickpeas, rinse them well, drain well and then grind coarsely in the food processor. The filling texture is like a thick coarse paste. It holds together but it is not smooth like hummus.
The vegetables do release a lot of water when cut with a food processor, so I made sure to drain the chickpeas really well before grinding them coarsely in the food processor. So the resultant mixture was not watery.
Add the red pepper paste, tomato paste, black pepper powder. chilli powder, paprika, cayenne pepper and salt. Mix all the ingredients well. The topping is ready.
Assembly and cooking
Preheat the oven to 500F and place the rack in the lower third of the oven.
Liberally flour the rolling surface. Then take a fistful of dough and shape it into a ball. Roll out the dough, dusting the dough and surface with flour as you roll it. It should be a thin disc such that it is almost translucent. Then place it on a baking sheet. Spread a thin layer of the topping onto the dough. Place this in the hot oven for about 10-15 minutes till the bottom of the dough is golden brown. You can also cook it on a hot skillet on the stovetop, covering it while cooking.
You can serve it as is or add some vegetables on the top and fold it over or roll it into a wrap.
To make the Tan
Blend the yogurt, water and salt. Pour it into a glass and add some mint as a garnish.
Tips
The tomato and red bell pepper pastes have a concentrated flavor and hence add to the flavor of the filling. However if you don't have it, I think you can get away with not using it. Make sure to let the dough rest between kneading and rolling out. It will be easier to roll. The oven or skillet should be really hot.