Welcome to my blog

I hope you will find the recipe you are looking for your occasion here.

Now video instructions are available for select recipes and can be accessed at

Gardening and Cooking Made Easy

The latest 5 recipes are displayed on the
main page. For more recipes, you can browse the archive, click on the labels in the index to the left or use the Custom search below to look for a specific recipe.


Search for more results

Custom Search
Showing posts with label mango. Show all posts

Wednesday, June 14, 2017

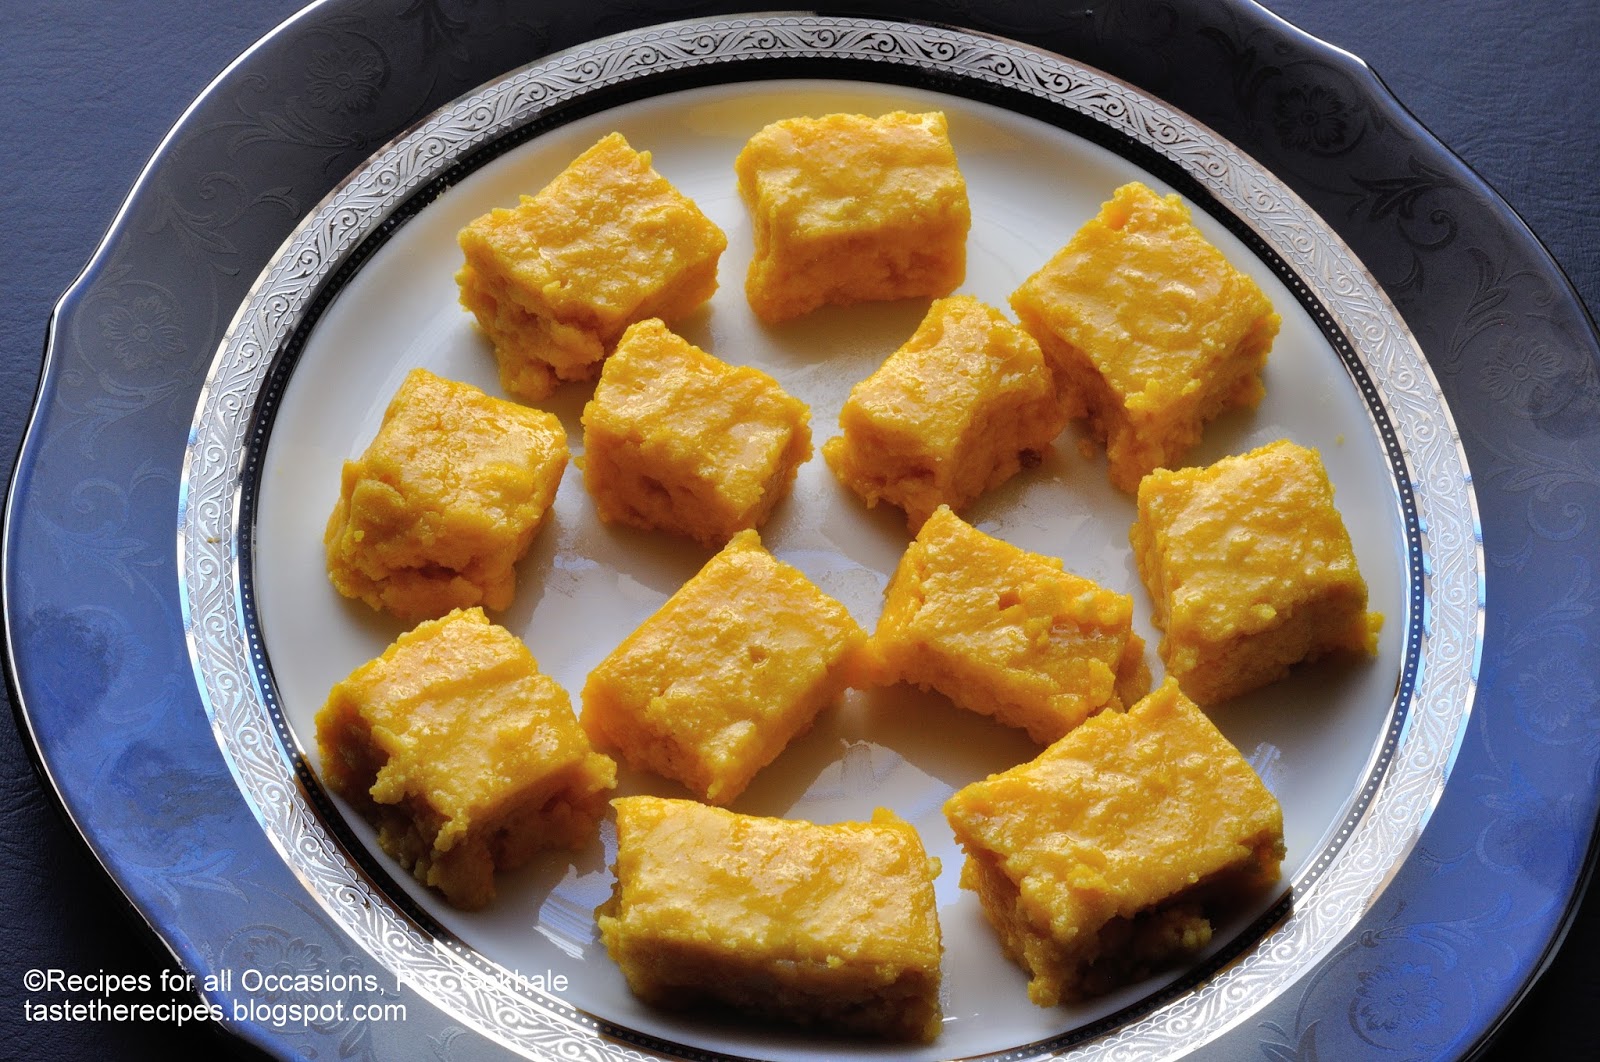
Mango Kalakand - Pressure Cooker Version

This is a delicacy and usually requires several hours when made traditionally. You start with whole milk, separate it into whey and paneer, then add the paneer to whole milk and reduce this down till thickened and then add the sugar, stir it for a little longer till thick enough to set and then set it on a greased plate. There are several short cut recipes that I have seen by baking ricotta cheese or making it in the microwave, but I have always found that these fall short of the authentic taste, especially for me. I have a sensitive palate and am able to taste the ricotta cheese in these recipes which annoys me terribly. So, I end up spending long hours during Diwali time (the only time I make elaborate sweets) making this.

Since I have been on a pressure cooking experimentation spree, I broke down the basic components of the traditional recipe and decided substitute milk with milk powder and see if this would set in the cooker when cooked under pressure, similar to a caramel flan. Thus far, I have experimented with cake and waffle batter and they have cooked well under pressure in less than 20 minutes. So again with a motivation to simplify the recipe with respect to the length of time and effort, I set forth with my experiment. In addition, I decided to flavor it with mango as I hadn't made mango kalakand before. And the result was terrific! Absolutely delicious, soft and well set kalakand. I can now whip this up easily for any dinner party now and so can you.


Ingredients
1 cup freshly made crumbly paneer
1/2 cup milk powder
1/2 cup sugar
3 tbsp mango pulp, canned
1 tsp ghee plus more to grease the container
1 cup water for the cooker


Method
Take the crumbly paneer in a bowl and mash it a little to make it slightly smoother. We still need a little granular structure to give kalakand the right texture. Then add the milk powder and sugar. Mix these well and then add the mango pulp. Add 1 tsp ghee and mix well. This mixture should be quite thick. If the pulp is very watery, then add some more milk powder to thicken it.

Grease a cooker safe container with ghee. Pour this mixture into the container. Cover this container with foil or a lid. This is to prevent water from condensation falling into the kalakand.


Pressure Cooker
Pour a cup of water into the cooker and place the covered container into the cooker. Cook this on medium low heat (4 setting on my stove) for 15 minutes (you can steam it or pressure cook it, it does not matter). Take it off the heat. Let the pressure fall and then open the lid.

Instant Pot
Cook it in manual mode for 15 minutes with vent closed. Let the pressure fall and then open the lid.


Now carefully remove the covered container making sure to not disturb the lid of the container. Then wipe it down nicely and once assured that there is no water, open the lid. Check that it is well set by inserting a toothpick or a paring knife into the kalakand and if it comes out clean, it is done.

Then let this cool down completely, cut this into squares. Refrigerate for a few hours. Then separate out the squares and serve them.


Tips
Paneer was made from whole milk and I had non-fat milk powder on hand.
If using fresh mango pulp, thicken it a little by cooking it a couple of minutes and add sugar if needed.  If this makes the mixture runny, add milk powder. The mixture must be like a thick cake or idli batter to set well.
To make normal kalakand, instead of mango pulp, add 1-2 tbsp of yogurt to bring the ingredients together in thick batter/paste form. Add cardamom powder for flavoring.
If you use a mango pulp that is too watery or if you haven't drained all the water from the paneer and it is too soft after refrigeration and you cannot make pieces out of it, pour the mixture into an open pan and heat it up for a couple of minutes till thickened and put it back in the greased plate to set it.

Friday, August 8, 2014

Mango Cake

One of the best things about summer (other than the summer vacation) while growing up, was the abundance of mangoes and getting to eat mango and all the different dishes made from raw and ripe mangoes. I must confess, it is my favorite fruit. Of course, the best varieties that I have tasted have been in India and of all the ones available there while growing up, the "Alphonso" was my absolute favorite. The memory of walking into a room filled with the smell of ripe mangoes is still one of my happy memories.

The varieties that I have come across in the stores here are generally from the Phillipines or Mexico and I have found that they are more fibrous. The one that I like most among the ones that are easily available here, is the Ataulfo mango. Now, while this is found in the local store all through the year, the best taste is only found during summer, which is when the mango is in season.

I have made and different kind of dishes made with mangoes, but had never eaten a mango cake, which was infused with flavors of mango within the cake. So, I decided to experiment and the result was delicious. In fact, the first time I made it, it was gone before I could take a singe picture. I managed to sneak in one picture the second time I made it. I have also used it as a base in a mango mousse cake. It is absolutely mouth watering. Hope you like it as much as I did, when you make it.


Ingredients
1 and 1/4 cups, plus 2 tbsp of all purpose flour (maida)
1 tsp baking powder
1/8 tsp salt
1/2 cup butter - room temperature
1 cup sugar
2 eggs
1 tsp vanilla essence
1/4 cup mango pulp ( it is generally sweetened. it can be found in a store which carries Indian products)
1/4 cup milk
1/4 cup mango pieces, diced


Method
Grease a baking dish with some butter and dust with some all purpose flour. Preheat the oven to 350F.

Sieve all the dry ingredients together and keep aside. Sieve these ingredients a couple of times. In another bowl, whisk together the butter and sugar. Beat it till the butter is fluffy. Add one egg at a time to this and beat each egg into the mixture till it is nice and fluffy. Add the vanilla essence. Add one third of the dry ingredients to the batter and fold it in. Mix the mango pulp and milk together. Then add half of this mixture to the batter. Alternate between the milk and mango mixture and the dry ingredients till they are all incorporated into the batter. Then add the mango pieces to the batter and fold it in carefully. Do not over mix and deflate the batter.

Bake the cake at 350 F for about 30 minutes. Use a knife and insert it into the center of the cake. If it comes out clean then the cake is ready. If not, bake for a few more minutes.
Take if out and let the pan cool on a wire rack for 10-15 mins. Then invert the pan onto the cooling rack and slide the cake out. Let the cake cool if you wish to ice it.


Tips
To prevent the mango pieces from sinking to the bottom of the pan, dust a little flour on the pieces and coat them before folding them into the batter. Make sure to grease the pan completely and generously, so that the cake doesn't stick. You can also add a parchment paper to the base of the mold and grease it before pouring the batter if you want to be certain that the cake will come out easily. 

Sunday, October 27, 2013

Mango Barfi/ Mango Vadi

A very popular sweet in Maharashtra, it is a combination of two rich ingredients viz. mango pulp and mava. This was one of the first sweets that I had tried making at home once I figured out how to make mava. The result was so tasty, and my family loved it. The next year, I taught another friend how to make it and we made it together for her Diwali party. However, I didn't cook it to the right consistency and it turned out a little soft. It set into a semi-soft barfi in the fridge and I got several compliments on it. In fact, this softer version was compared to the one made by a famous Mithai house in Pune. Hence, this is a very forgiving recipe. Whether you cook it to the right consistency or make it a bit softer, the taste doesn't get affected, and is delicious.


Ingredients
2 cups mango pulp
1.5 cup mava/khoya/khava
2 cups sugar
1/2 cup powdered sugar (not icing sugar)


Method
Mix the sugar and mango pulp in a microwave safe bowl, and cook it in the microwave for 10 minutes, till the mixture thickens and changes color and darkens. Cook it in 2 minute increments and stir.
In a separate bowl, heat the mava in the microwave for 1 minute and then add this sugar and mango pulp mixture to the mava. Mix this well.

Grease a pan with some clarified butter and keep aside. 

Now, transfer this mixture to a thick bottomed pan and reduce the mixture till it starts to thicken. Make sure you are doing this on low-medium heat, so that the mixture doesn't burn. Keep stirring often. Let the  mixture thicken, till it is so thick, that when you stir it, you can see the bottom of the pan and the mixture doesn't flow back to cover the base of the pan easily. You can also try and take a small drop of the mixture onto a plate, let it cool slightly, and try to roll it into a ball. If you can roll it into a soft ball without it being very sticky, then the mixture is at the right thickness.


Take this mixture off the heat and let it cool down a bit till it is easy to touch without burning your fingers, but still warm. Then add the powdered sugar to it and mix well.

Pour this into the greased pan and using the base of a measuring cup or a steel cup, flatten it out into the pan. The thickness of this should be about 1/2 -3/4 inch. Let the mixture cool down a little more till luke warm and then cut it into squares about 1X1 inch in size.


As you can see from the pictures, I prefer making the softer version. It is great, irrespective of the consistency. 


Tips 
You can use any canned pulp. If you use fresh mango pulp, remember that it may be more watery than the canned one and you may need to use more pulp, else the taste of mango may not be very strong. Also, canned pulp already has some sugar added to it. If you use fresh pulp, you may need to increase the amount of sugar being used, based on how sweet the mango is.
If the mixture is too thick and you are unable to flatten it, add a little milk and cook it till it softens. If it is too soft, that you are unable to cut it without it sticking to the knife, then cook the mixture for a few more minutes. You can also let it set in the fridge over a couple of days. This easily lasts in the fridge for about 10 days to 2 weeks.
Don't use icing sugar, because it is a mixture of powdered sugar and cornstarch.

Sunday, September 26, 2010

Panha - A Refreshing Raw Mango Drink

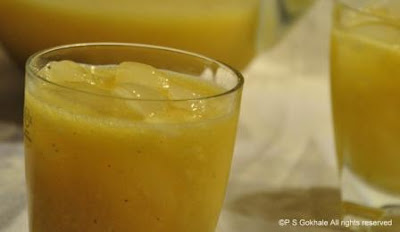
This is one of the most refreshing summer drinks and always takes me back to those long summer vacations spent at my maternal grandmother's place. She used to make pitchers of "panha" during summer along with other summer drinks like "taak" and "limbu sarbat". This is also a great accompaniment to the "kairi chi daal". I made panha this summer and realised that it is a very simple recipe. I shall definitely be making it every summer from now on. The main ingredient for this is the raw mango (kairi) and as its available only during early summer, this is a seasonal drink. Its definitely a bit late to find raw mangoes now but do try it the next time you bring raw mangoes home.


Ingredients
1 large/ 2 medium green mango - must be raw
salt to taste
jaggery to taste - depends on how tart and sour the mango is
a couple of pinches of cardamom powder
a few strands of saffron
1-2 cups of water - depends on how much pulp you get from the mango


Method
Pressure cook the mango. I cooked it till I heard 1 whistle. Once the mango cools, peel the skin and discard. Scrape the pulp off the mango and discard the seed. To this pulp add the jaggery, salt, cardamom powder and the saffron strands. Add about half a cup of water and blend all these ingredients together. Increase the amount of water and adjust the salt and jaggery based on the kind of consistency you want. You will also need to adjust the salt and the sweetness based on how sour the mango is.

In the Instant Pot you would cook it for 3 minutes on manual mode, high pressure and then let the pressure release naturally.


Tips
A friend gave me a tip that if the skin of the mango is a bit tough and not very sour, then its best to peel the mangoes before cooking them. That will prevent the drink from any bitterness. You can substiture jaggery with sugar. Brown sugar has molasses and will have a taste closer to jaggery, but if you don't have brown sugar use regular white sugar. If the raw mango is not very sour, you may need to add some lemon or lime juice to adjust the tartness.

Sunday, May 16, 2010

Mango Kulfi/Ice Cream

The first time I ate homemade kulfi, I figured this was probably a very complicated recipe (ice creams just seemed to be something to be bought not made). A friend finally shared her recipe and it turned out to be a very simple. I made some changes to the recipe she provided to make it a healthier.

Recently, I decided to modify this recipe even further to create the mango ice cream/kulfi recipe. I made this ice cream for a party recently and it was a culinary triumph. Summer is the season for mangoes and this is one cool recipe for those hot days ahead.


Ingredients
4 white bread slices
1 can or 1.5 cups evaporated milk
1 can or 1 and 3/4th cups of sweetened condensed milk
1 pint of heavy whipping cream
1 cup of mango pulp
1 mango diced into bite sized pieces
1 tsp of Powdered Cardamom Powder.
1/4 cup of sliced almonds and pistachios (optional)


Method
Toast the bread lightly for about a minute or less on the stove or in the toaster. The bread should not change color. Cut off the edges of the bread. Once cooled the bread will become a bit harder and easier to grind down into  crumbs in the food processor or mixer. Whip the cream in another bowl till the cream is stiff and peaks can be formed by the whisk. In another bowl, mix together the condensed milk, evaporated milk, mango pulp, white bread crumbs, cardamom powder and whisk till all the components are blended well together. Fold in the whipped cream and then blend well to aerate the mixture. However, do not overmix after adding the whipped cream. Fold in the mango pieces and freeze this mixture.  After 4-5 hours, let this thaw a bit and again whip it and blend it well. Freeze again.


Tips
To whip up the cream, make sure the cream, the bowl and the whisk are all chilled.  This helps to whip up the cream faster. Do not over whisk else the cream can separate. Stop once the peaks can be formed. The mango pieces can be added when the ice cream is remixed before being frozen for the second time. The condensed milk quantity can be reduced or increased to adjust the sweetness of the icecream.

This is my first entry to the Thanda Mela and second one to the Monthly Mingle. I am submitting my Mango Ice Cream and Tiramisu recipes. Seems to be a great forum to exchange recipes! Hope to contribute more regularly to these and other such events.